
Upcycled Patchwork Denim Shorts Tutorial

I am FULLY obsessed with these patchwork denim shorts! And the fact that they’re an upcycle of an old pair of jeans makes them even better. Dig out some jeans from your closet (or thrift a pair) and turn them into the star of your summer wardrobe! In this upcycled denim jeans tutorial, we’ll be adding a checkerboard patch to some cut off shorts.
There are lots of ways you can customize this tutorial to suit your vision. Try using a single piece of fabric for a simpler color block look (BONUS: this option doesn’t require a sewing machine!), make a patch for the front panel of your shorts, try it out on a pair of jeans, use it to cover stains or holes, swap pockets with a different color/shade of shorts, or whatever other fun ideas you can think of! I would LOVE to see what you come up with.
Let’s go!
A link to the recording of the zoom class is here.
Materials:
A pair of jeans
Thread
Tools:
ReNew Scissors (coming early June!)
Seam Ripper
Sewing Machine
Straight Pins
Instructions:
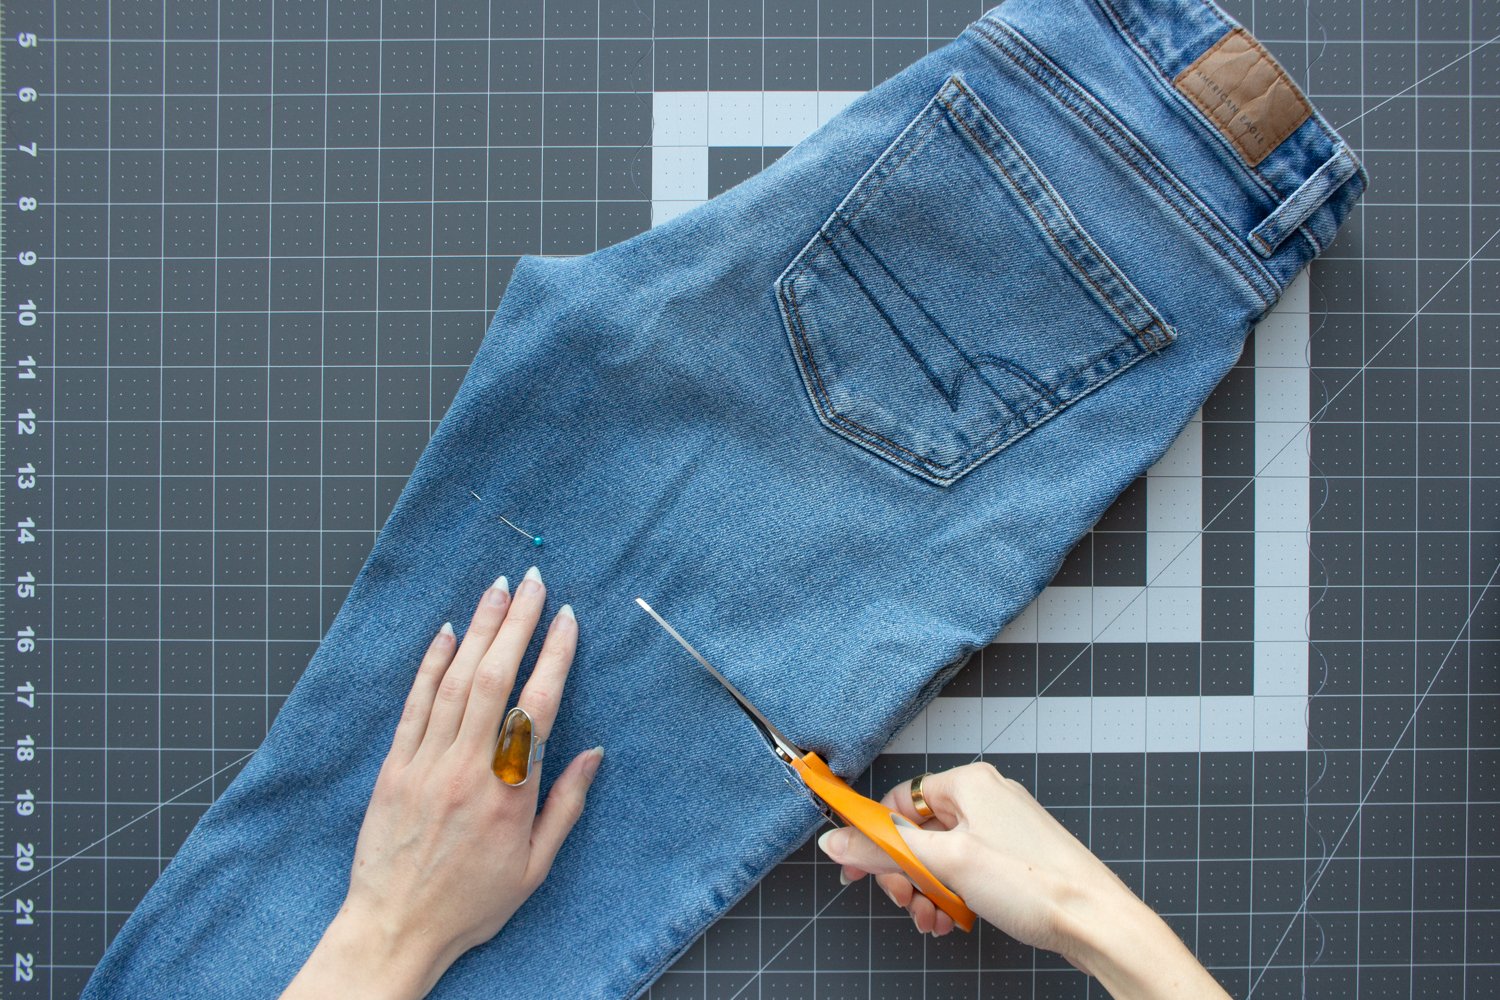
STEP ONE:
Try on your jeans to mark your desired length and cut them into shorts. Cut them a bit longer if you’d like to fold the hem.
STEP TWO:
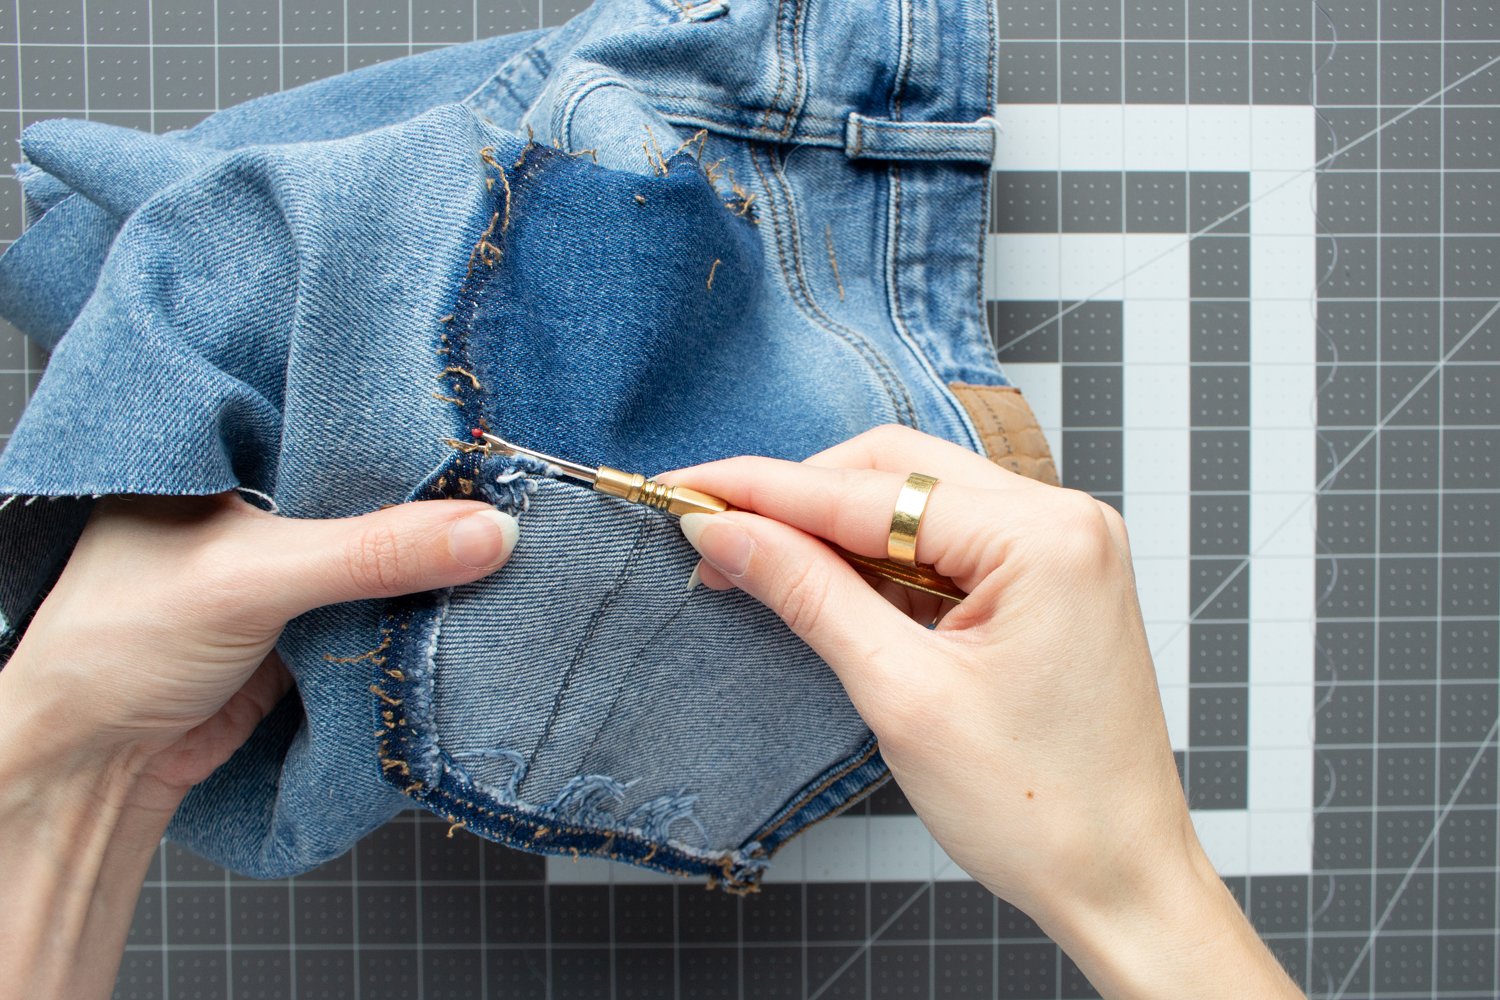
Use a seam ripper to remove one of the back pockets.
STEP THREE:
Draw your pattern for the patch.
To do this, lay your shorts flat on your table, place a piece of muslin fabric over them, and trace where you’d like the patch to go. You can feel where the seams of the shorts are located and draw over top of them. It’s ok if it isn’t perfect. I recommend using a straight line for the edge that goes partially under the pocket.

Once you’ve traced it out, use your clear ruler to add 1/2” around all sides of your pattern piece, cleaning up any wobbly edges as you go.

Cut out the pattern piece.
STEP FOUR:
Create the patchwork (or skip this step and use a single piece of fabric).
Cut strips of an even width in 2 coordinating colors. Here I’ve used 2 1/4 inch strips for the yellow/pink checkerboard and 1 3/4 inch strips for the black and orange checkerboard. The length and number of strips depends on the size your patch will be. Remember that the seam allowance will shrink the overall size as you sew them together, so cut them larger than you will need.

Sew the strips together using a 1/4 inch seam allowance, alternating colors, and iron your seams flat.
Cut the striped block into strips the same width as your original strips, and sew those back together alternating the direction of the strips to create the checkerboard.

Sew those strips back together alternating the direction of the strips to create the checkerboard.
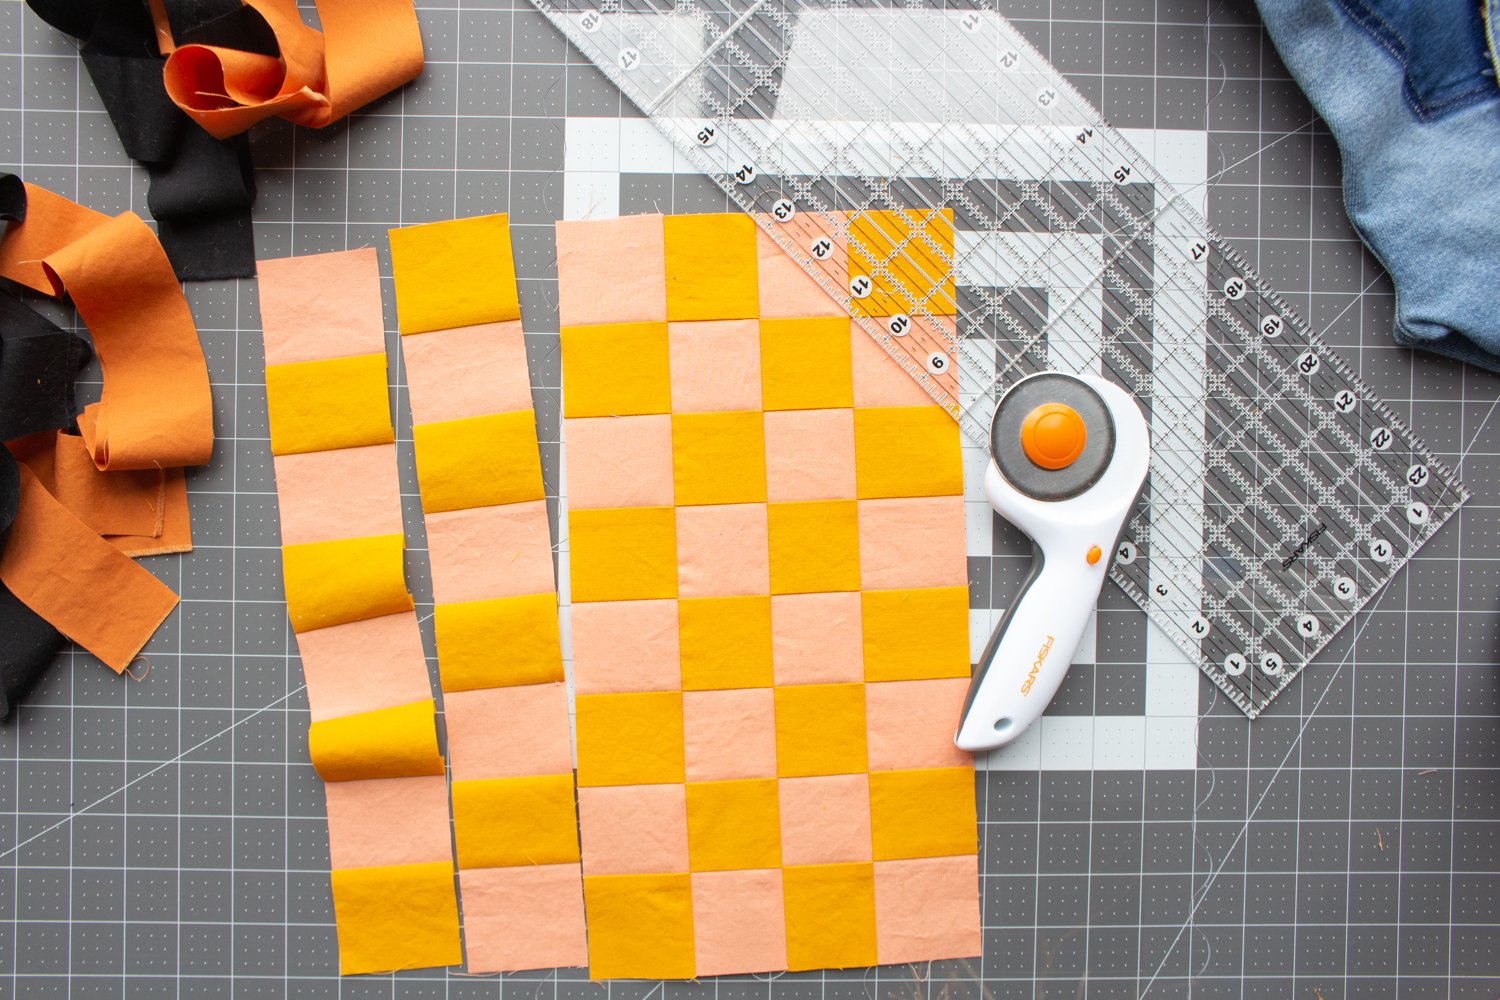
If you are using 2 different checkerboards like I did, sew them together and check that the finished size is larger than (or the same size as) your patch pattern.
STEP FIVE:
Use your pattern piece to cut out the patch.

STEP SIX:
Locate the straight edge of your patch (the one that goes under the pocket) and iron the edge under 1/2 inch.

Pin that folded/ironed edge to your jeans, making sure to overlap the top and right edges of your patch over the seam you traced by approximately 1/2 inch. Iron the other seams under to meet the seam that you traced and pin in place. I’m planning on folding up the hem, so I kept the patch a bit short on the bottom.


STEP SEVEN:
Hand stitch the patch to the shorts all the way around all the edges.

STEP EIGHT:
Pin the pocket back on the shorts, lining it up with where it used to be.

Using DMC floss for a fun contrasting detail, hand stitch the pocket back on using a backstitch and following the original seam.

THat’s it!
Wear your newly revived shorts with pride!