
DIY Pom Pom Mirror Tutorial with Fiskars

Get the look of a tufted mirror using pom poms! It's a great way to use up yarn odds and ends and there are endless possibilities of color choices and arrangements and mirror shapes.
The full video tutorial is here.
The materials and instructions are listed below. Have fun!
MATERIALS
Yarn - Either use your leftover odds and ends, or choose a color palette with yarn like this or this
TOOLS
Instructions:
Step One:
Wrap both sides of the pom pom maker with yarn, keeping the tension tight and wrapping them very full. You can wrap 2 colors at once for a more speckled look. Close each side when finished.

Step Two:
Cut the yarn up the center of the pom pom maker.

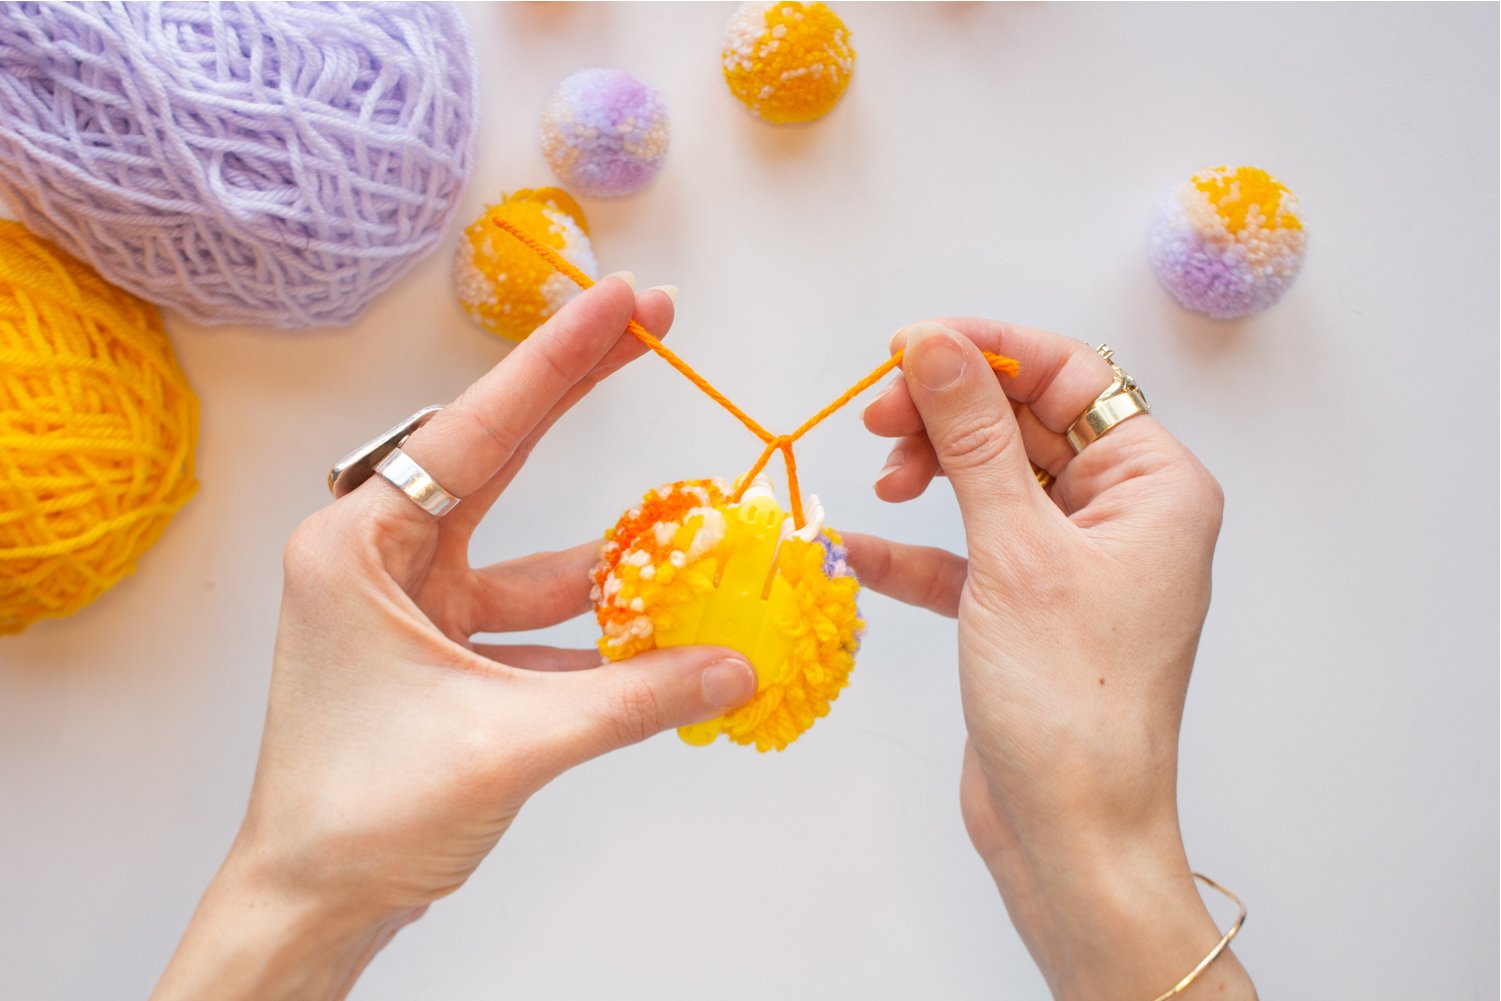
Step Three:
Wrap a length of yarn around the center of the pom pom maker, pulling tight and tying a double knot.
Step Four:
Open the arms of the pom pom maker and separate the halves.

Step Five:
Trim the pom pom into a circular shape. I trim mine pretty aggressively to make them more dense. Do not cut off the longer strings that you used to tie it together.

Repeat the first 5 steps and make a whole pile of pom poms. You’ll probably need more than you think, but you can begin attaching them and make more as needed.

Step Six:
Trace the mirror onto the plastic canvas and cut it out about 3/8th of an inch away from the traced line.

Step Seven:
Lay your pom poms out on the plastic canvas to get an idea of the placement of colors and sizes of pom poms. Experiment with different layouts to see what you like best! Here I have larger ones around the outside edge and smaller ones around the inside.

Step Eight:
Attach the poms to the plastic canvas by threading one of the long strings onto your needle, stitching down through the canvas along or about 3/8th inch inside the traced line, and then sewing the second string down through canvas one square away from the first string. Tie the strings together on the back side of the canvas, using only a single knot for now so that you can adjust placement later if needed.

Step Nine:
Stitch the second pom pom next to the first, close enough that they squish together tightly and you can’t see any of the plastic canvas between them.

Step Ten:
Continue attaching poms all the way around the outer edge. When you get to the end, you may need to slightly adjust placement a few pom poms so the last gap fits one pom pom well.

Step Eleven:
If you would like to do a second ring of pom poms, attach those in the same way, keeping them very snug to the previous ring.


Step Twelve:
Once you are happy with the placement of all your pom poms, tie a second knot in all the strings on the back and cut off the excess.

Step Thirteen:
Cut out the middle of the plastic canvas, starting by folding the whole thing in half like a taco and making a large cut in the center, and then cutting the canvas small enough that you can’t see it from the front, but not cutting into where the strings are tied.


Step Fourteen:
Apply E6000 glue to the back, keeping it inside your traced line. Flip the mirror upside down onto the back of the piece, aligning it with the edges of your traced line.

Flip it mirror side down and rest something heavy like a book or 2 to keep the canvas/pompom piece flat while it dries. This glue takes 72 hours to fully cure, but it will be dry enough to remove the books in less time than that.


Step Fifteen:
Use Command Strips to hang it on the wall. Enjoy!