
Embellished Detachable Collar with Fiskars

These detachable collar necklaces are very fun project that will quickly switch up the look of any outfit. There are so many options for ways to embellish and make them your own. And the collars are small so even if you’ve chosen a time intensive embellishment process it goes pretty quickly. They’re great way to experiment with new techniques!
The full video tutorial is here.
The materials and instructions are listed below. Have fun!
Click HERE for the free collar pattern
Materials
Cotton Quilting Fabric like this one or this one
Assortment of sequins and beads - I used:
8/0 Seed Beads in White Pearl and Silver Lined Crystal
11/0 Seed beads in Silver Lined Light Pink
Tools
Sewing Machine
Iron
INSTRUCTIONS:
STEP ONE:
Print the pattern (making sure you not scale the page when you print), cut out the pattern piece, fold your fabric in half and cut twice to get 4 pieces. If your fabric has a right side, make sure 2 pieces mirror the other 2 pieces.

Step Two:
Cut 2 pieces from interfacing, folding it in half and cutting both pieces at once. This will ensure that the pieces mirror each other when you lay them bumpy side down.

Step Three:
Trim the pieces a bit smaller to fit inside the fabric pattern pieces.
Lay the interfacing bumpy side down on top of 2 of the fabric pattern pieces, they should be mirrored as shown below.


Step Four:
Iron the interfacing to the fabric, laying them with the interfacing on the bottom so it doesn’t touch your iron (make sure the bumpy side is touching the fabric).

Step Five:
Cut 2 pieces of ribbon at 20 inches each. You can keep it from fraying by using a lighter to melt the cut edges just a little bit.
Step Six:
With the interfacing side of the piece face down on your work surface, pin the ribbon a half inch from the top/shorter edge as shown here. Lay a piece with no interfacing on top of the ribbon, aligning the fabric pieces. Right sides of the fabric are together.

Step Seven:
Sew the bottom/longer side, 1/2 inch from the edge (black dotted line), being careful to keep the ribbon out of the way so that you only sew over it at the point where you have it pinned. Pivot when you get to the small angled corner and follow the tiny edge. Backstitch. Sew the top edge (orange dotted line), 1/2 inch from the edge. Backstitch. Repeat with the other side of the collar.

Step Eight:
Trim the seams with a pinking shears, close to the stitching. Do not trim the center unstitched edges or either end of the ribbon.

Step Nine:
Turn the pieces right side out and iron flat.

Step Ten:
Fold the unstitched short edge to the inside and iron flat. Starting at a bottom corner, hand stitch the opening closed. When you reach the top corner, stitch the 2 sides together by making several small stitches in the same spot. Stitch the other opening closed and tie off at the second bottom corner.


The collar is finished!
At this point, you can embellish using any technique you’d like. Directions for sequins and beads are listed below, and lots of inspiration for other techniques are shown at the bottom of this post.
To continue with sequins and beads:
Step Eleven:
Plan your layout by placing the elements on top of the collar. Keep a mental note of the placement or take a photo to refer back to.

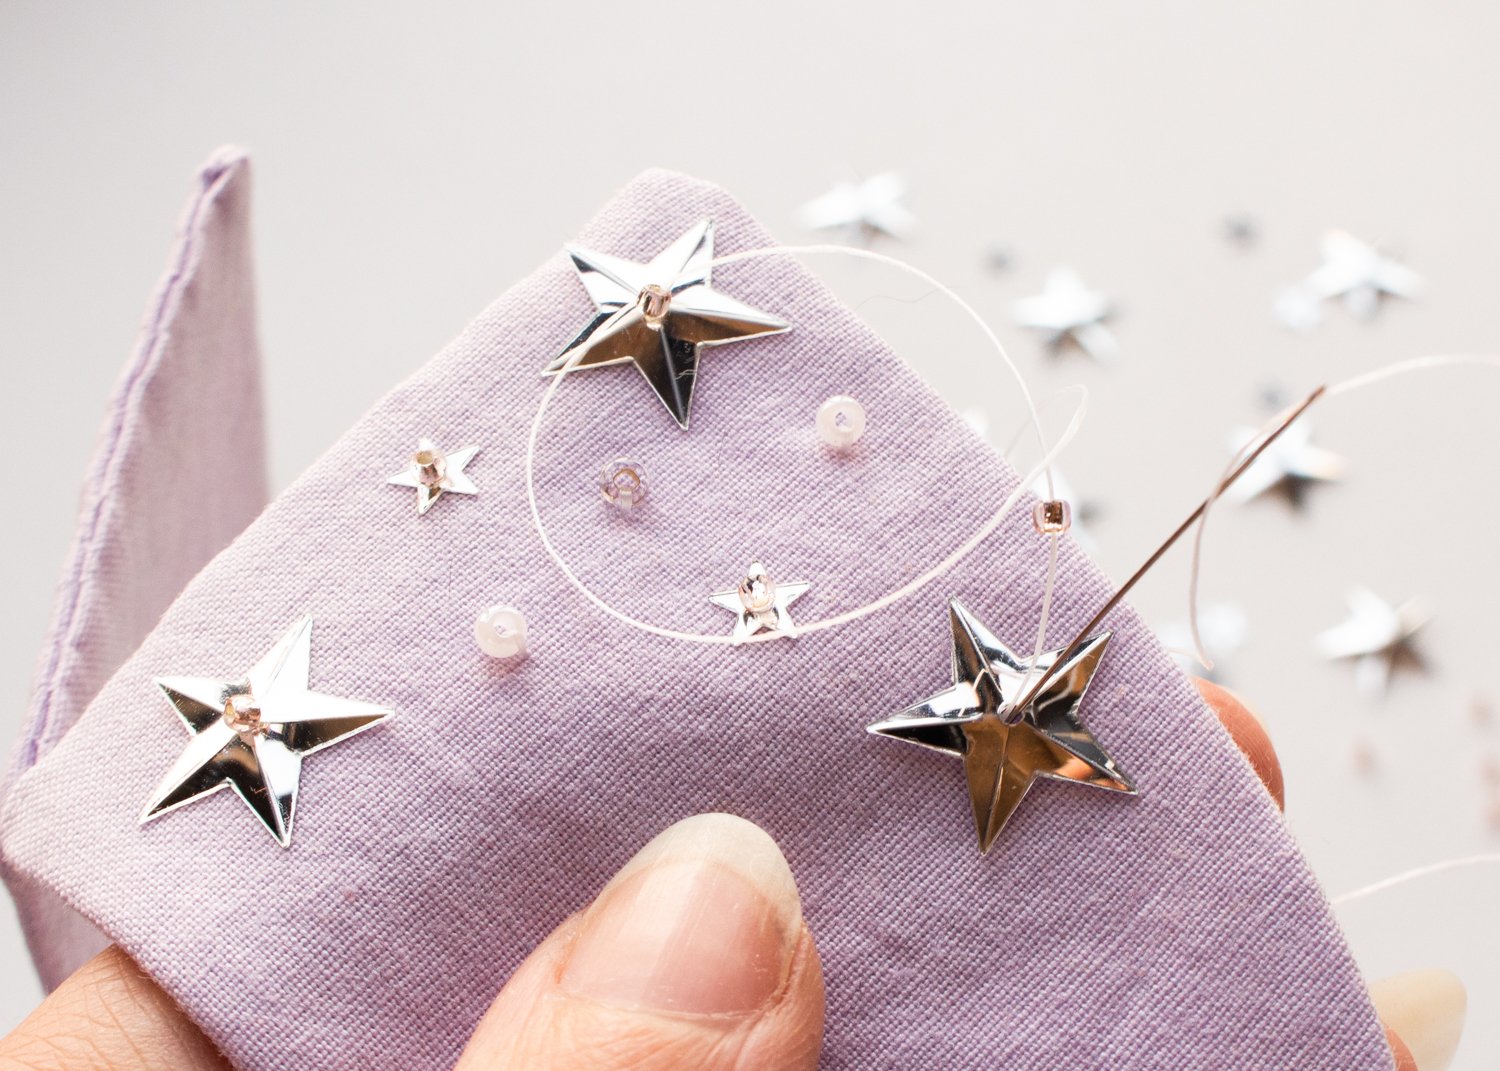
Step Twelve:
Using your beading needle and beading thread, stitch all the beads and sequins on. To attach the sequins, I go up through the sequin and through a small bead, and then back down through just the sequin. The bead will hold the sequin on.
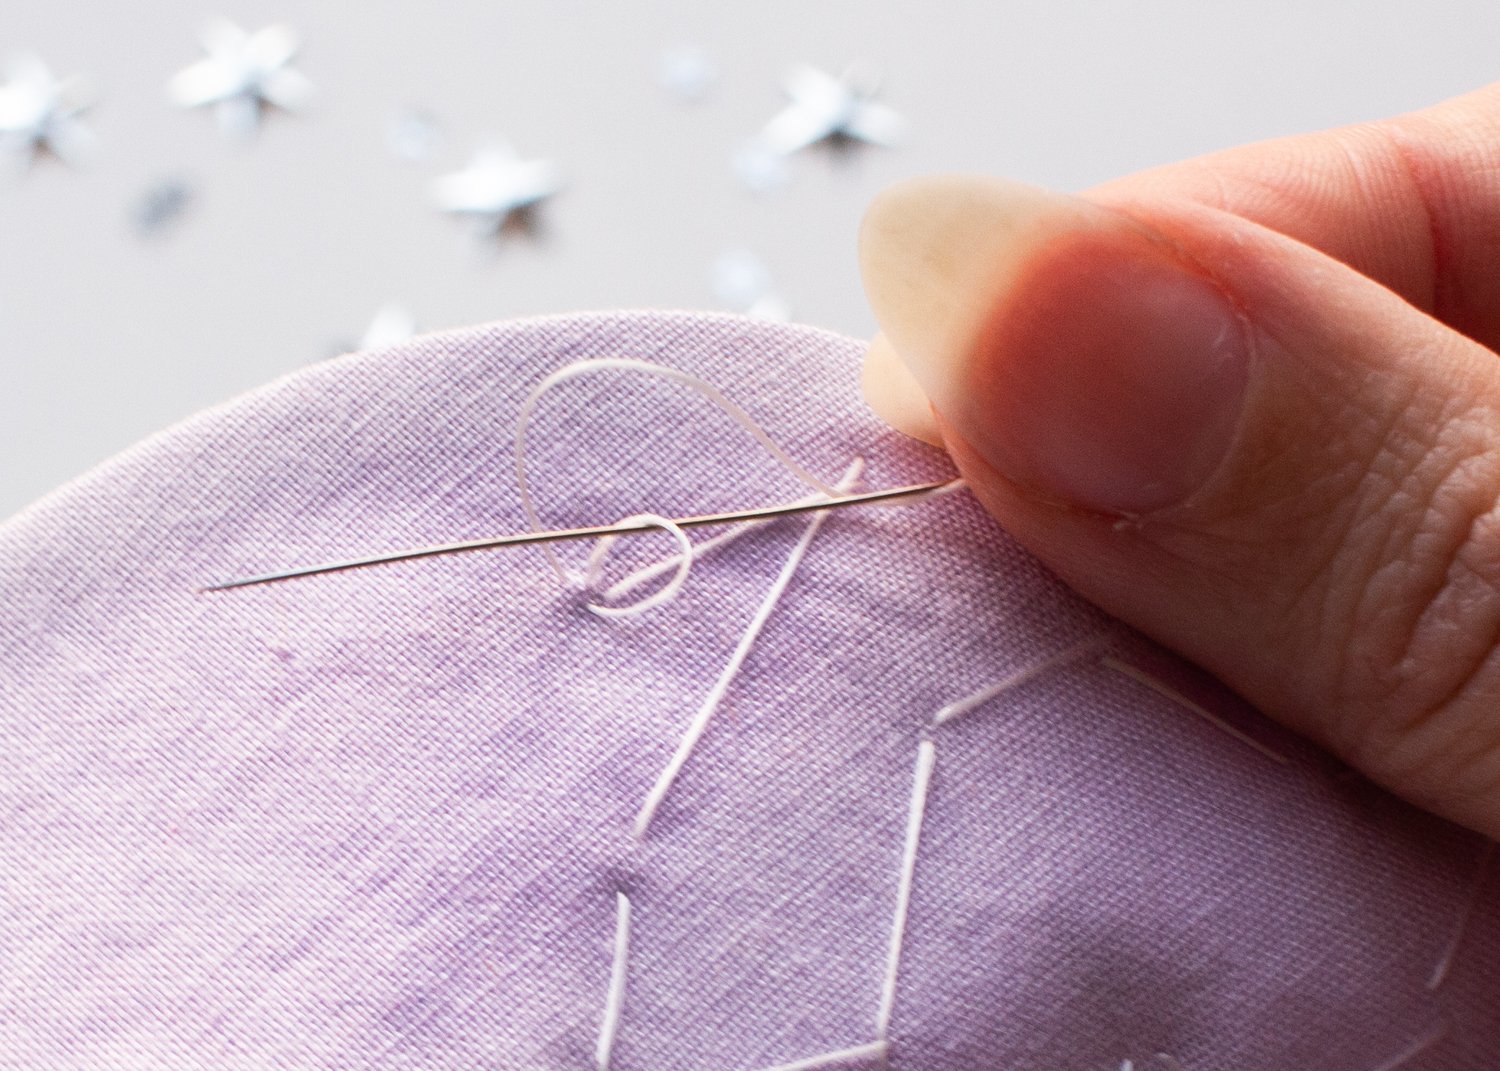
Step Thirteen:
To tie the thread off, make a few tiny stitches on the back and stick your needle back through the loop that is formed. You will see all of stitches on the back, but no one is going to see the back anyway so it’s fine! :)
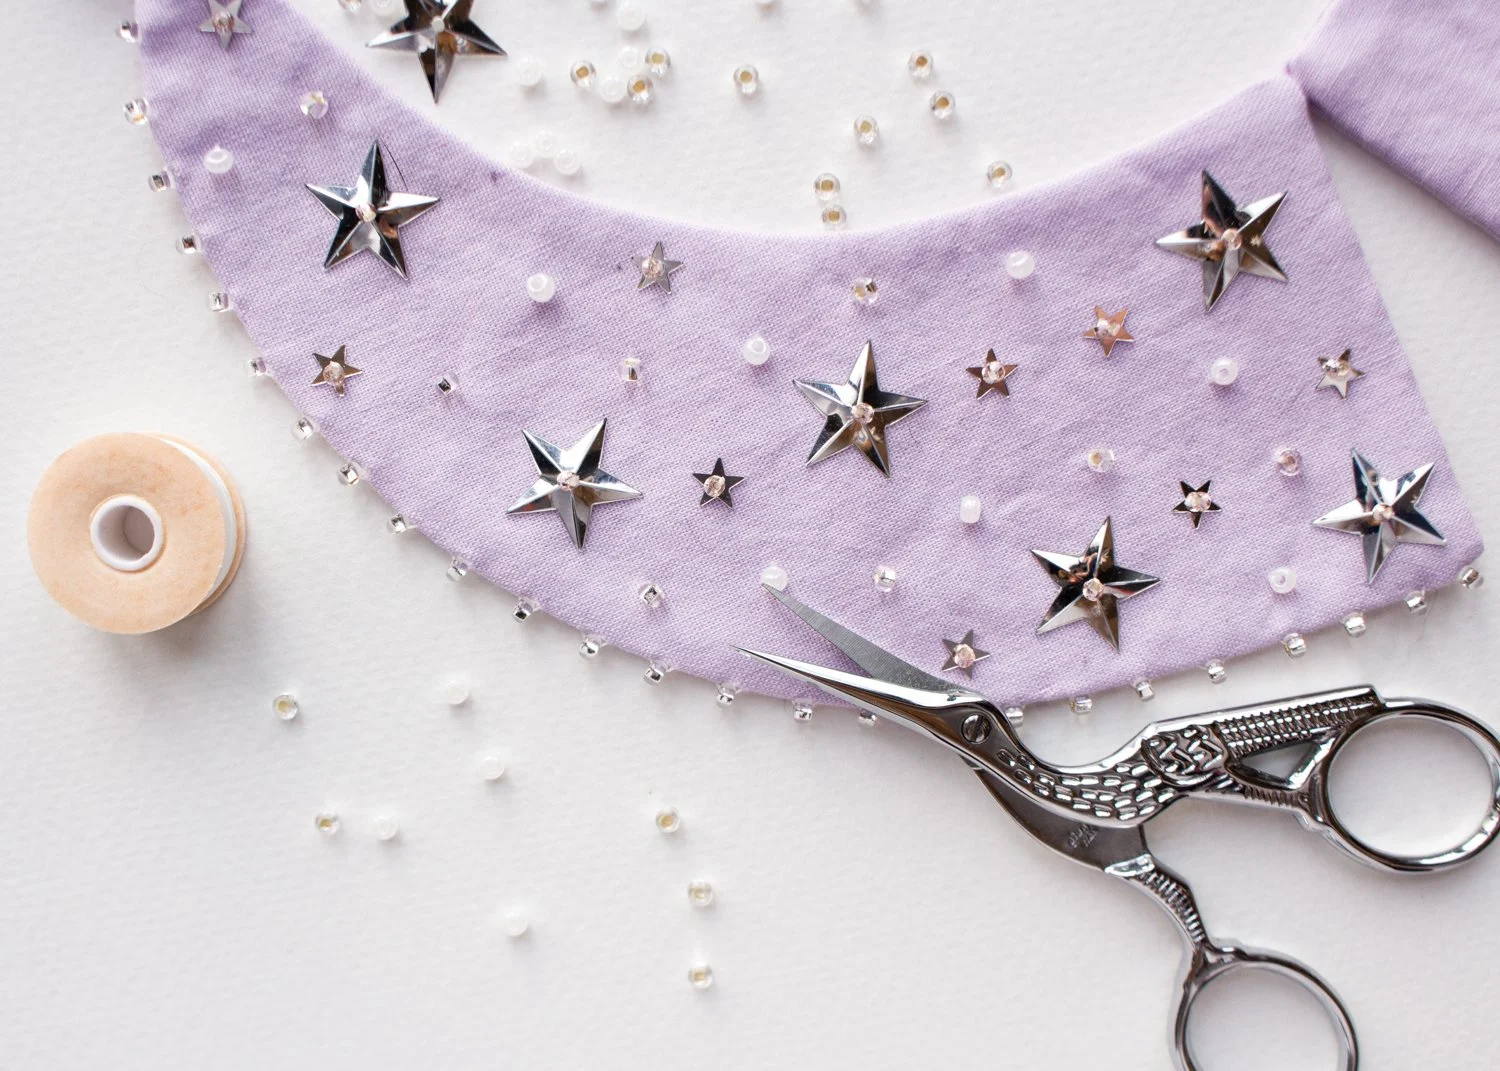
You’re finished!
Celebrate by wearing it around your house for no reason at all!

More Ideas!
Here are some other ways to embellish your collars, the possibilities are endless.


DMC Floss, Size 11 Seed Beads, Solid Quilting Fabric. I embroidered this one before assembling the collar.


