
Hand Quilted Table Runner
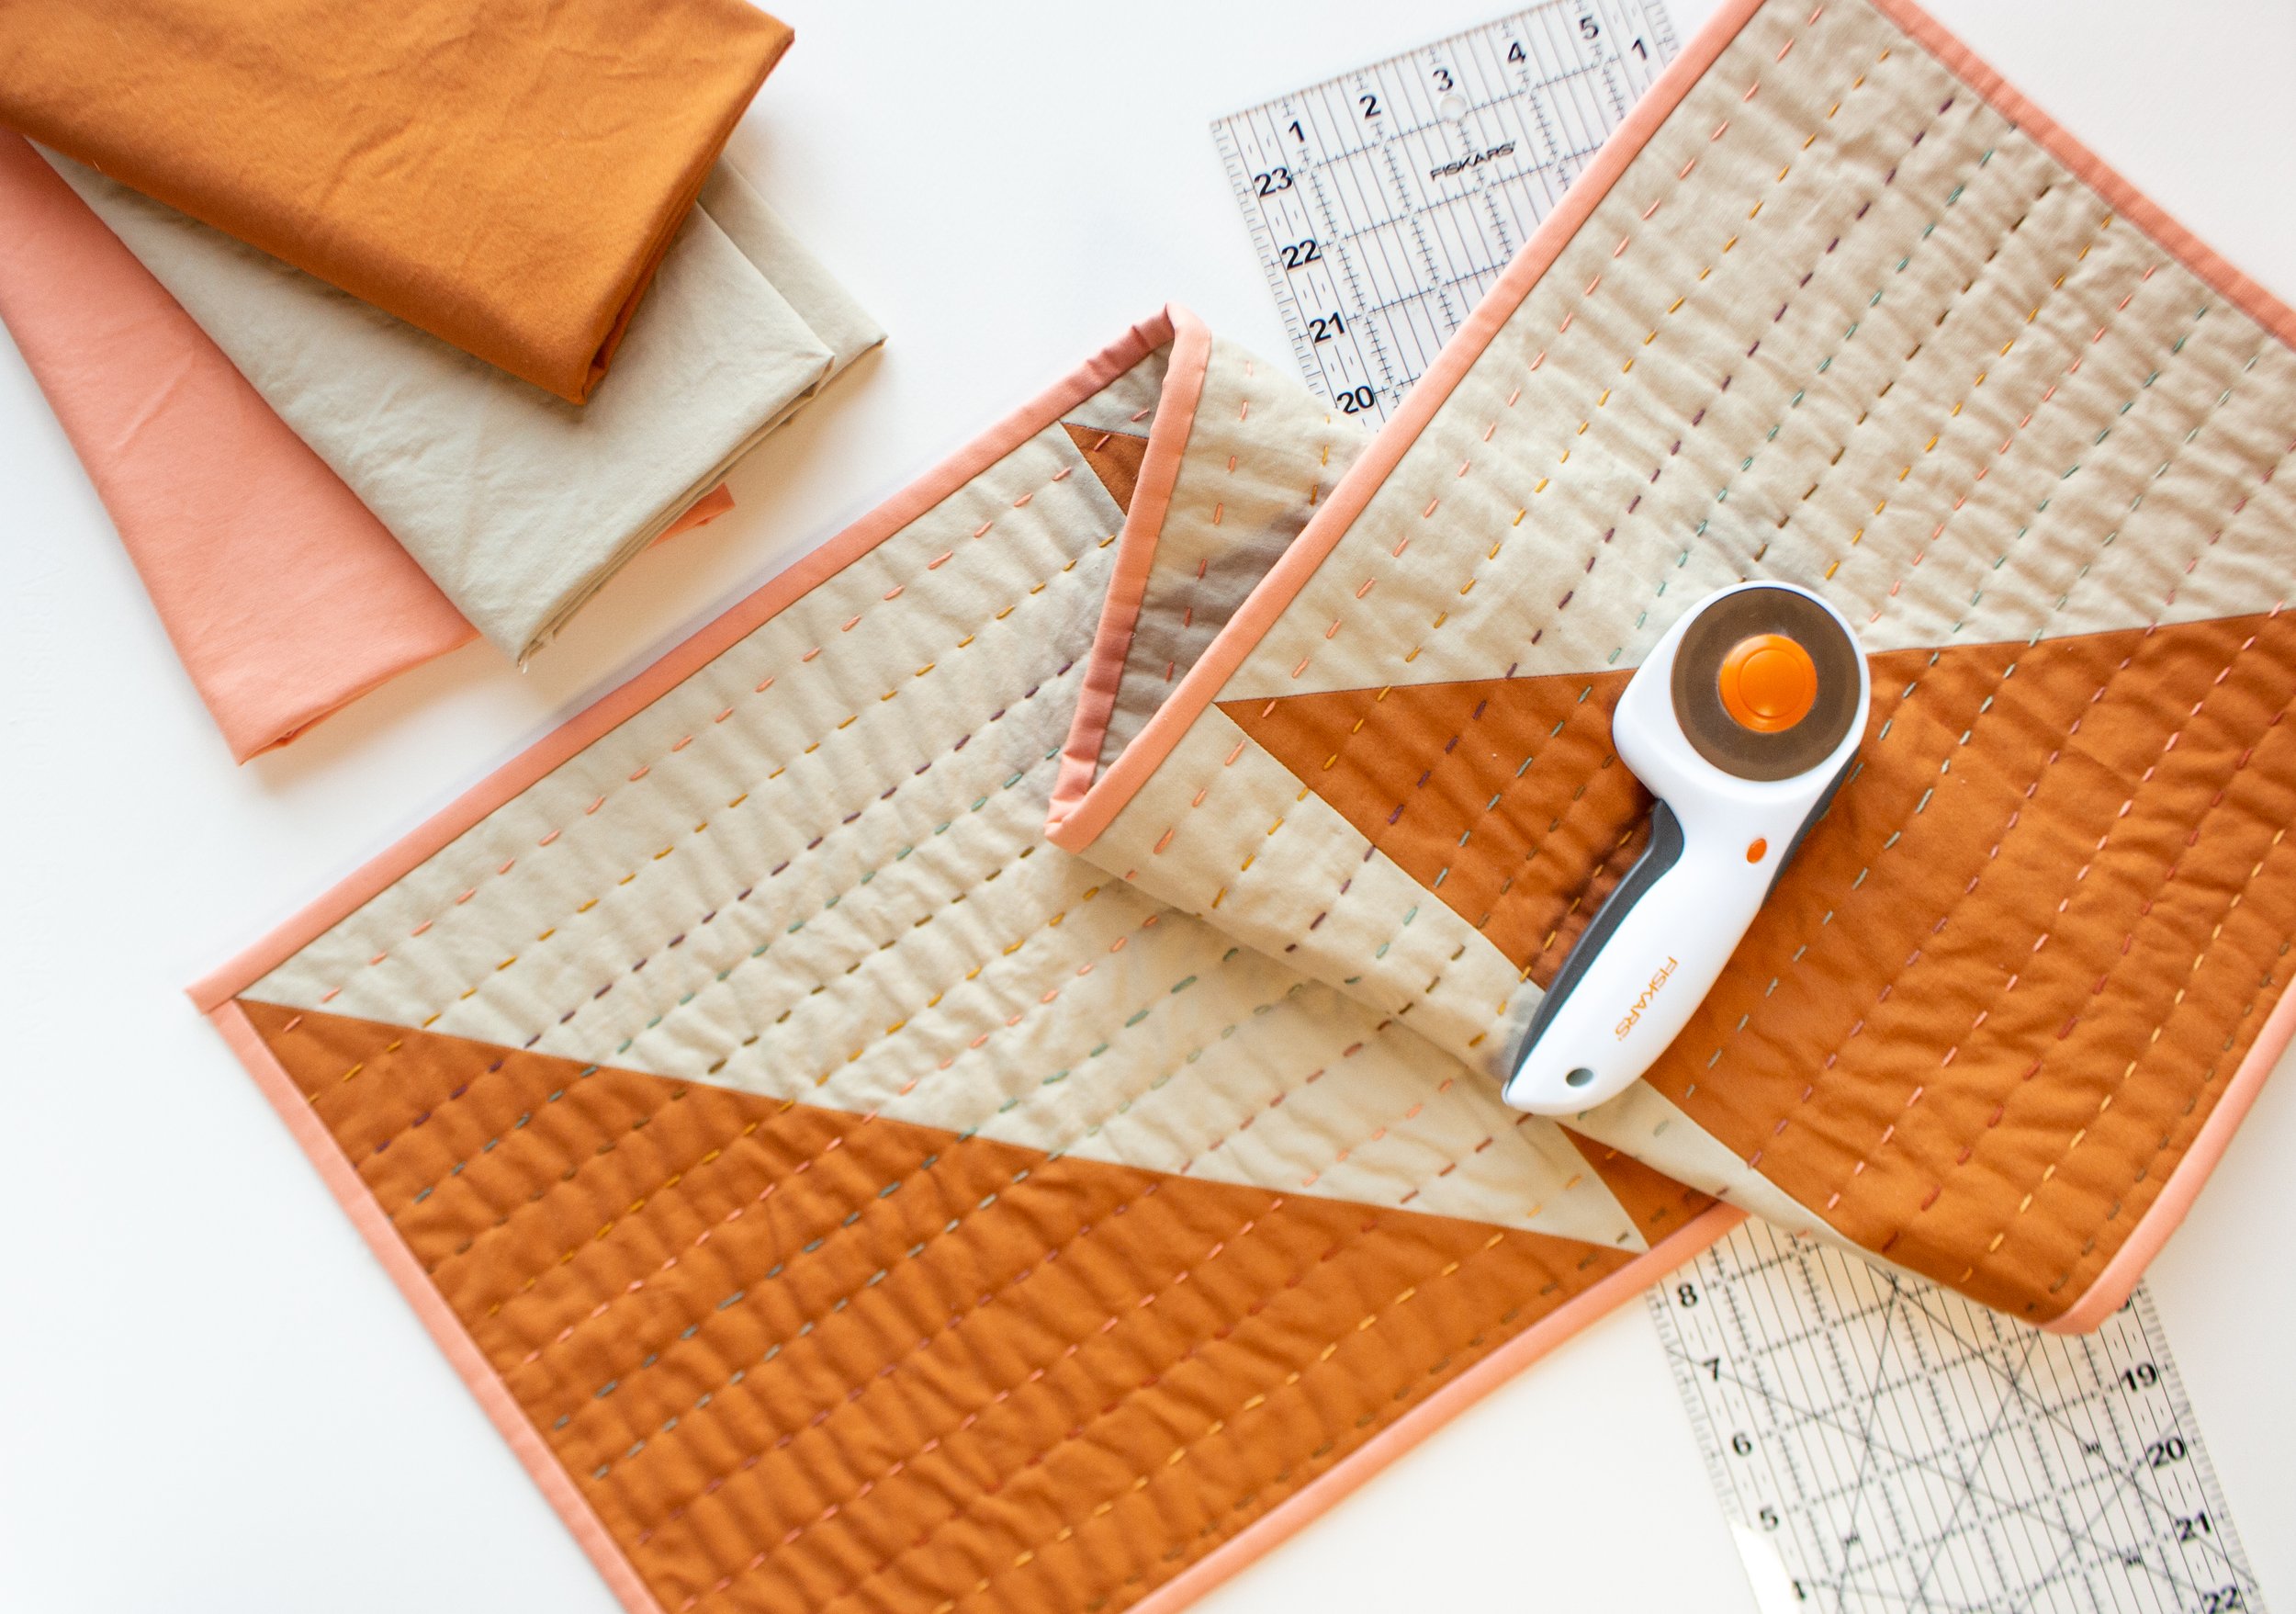
This table runner will be the perfect touch for all your fall dinner parties! It is built from simple quilt blocks in contrasting solids for a very modern feel, and is accented with big colorful hand stitches that add a beautiful texture and handcrafted touch.
MATERIALS:
TOOLS
Scissors
Sewing Machine
Hand sewing needle
The video recording of the class is here.
INSTRUCTIONS:
STEP ONE:
Make the quilt blocks.
Cut 14” squares out of 2 contrasting fabric colors.

Cut the squares in half diagonally, like a grilled cheese sandwich.

Layer 2 triangles on top of eachother, one of each color, and sew together 1/4” from the edge.
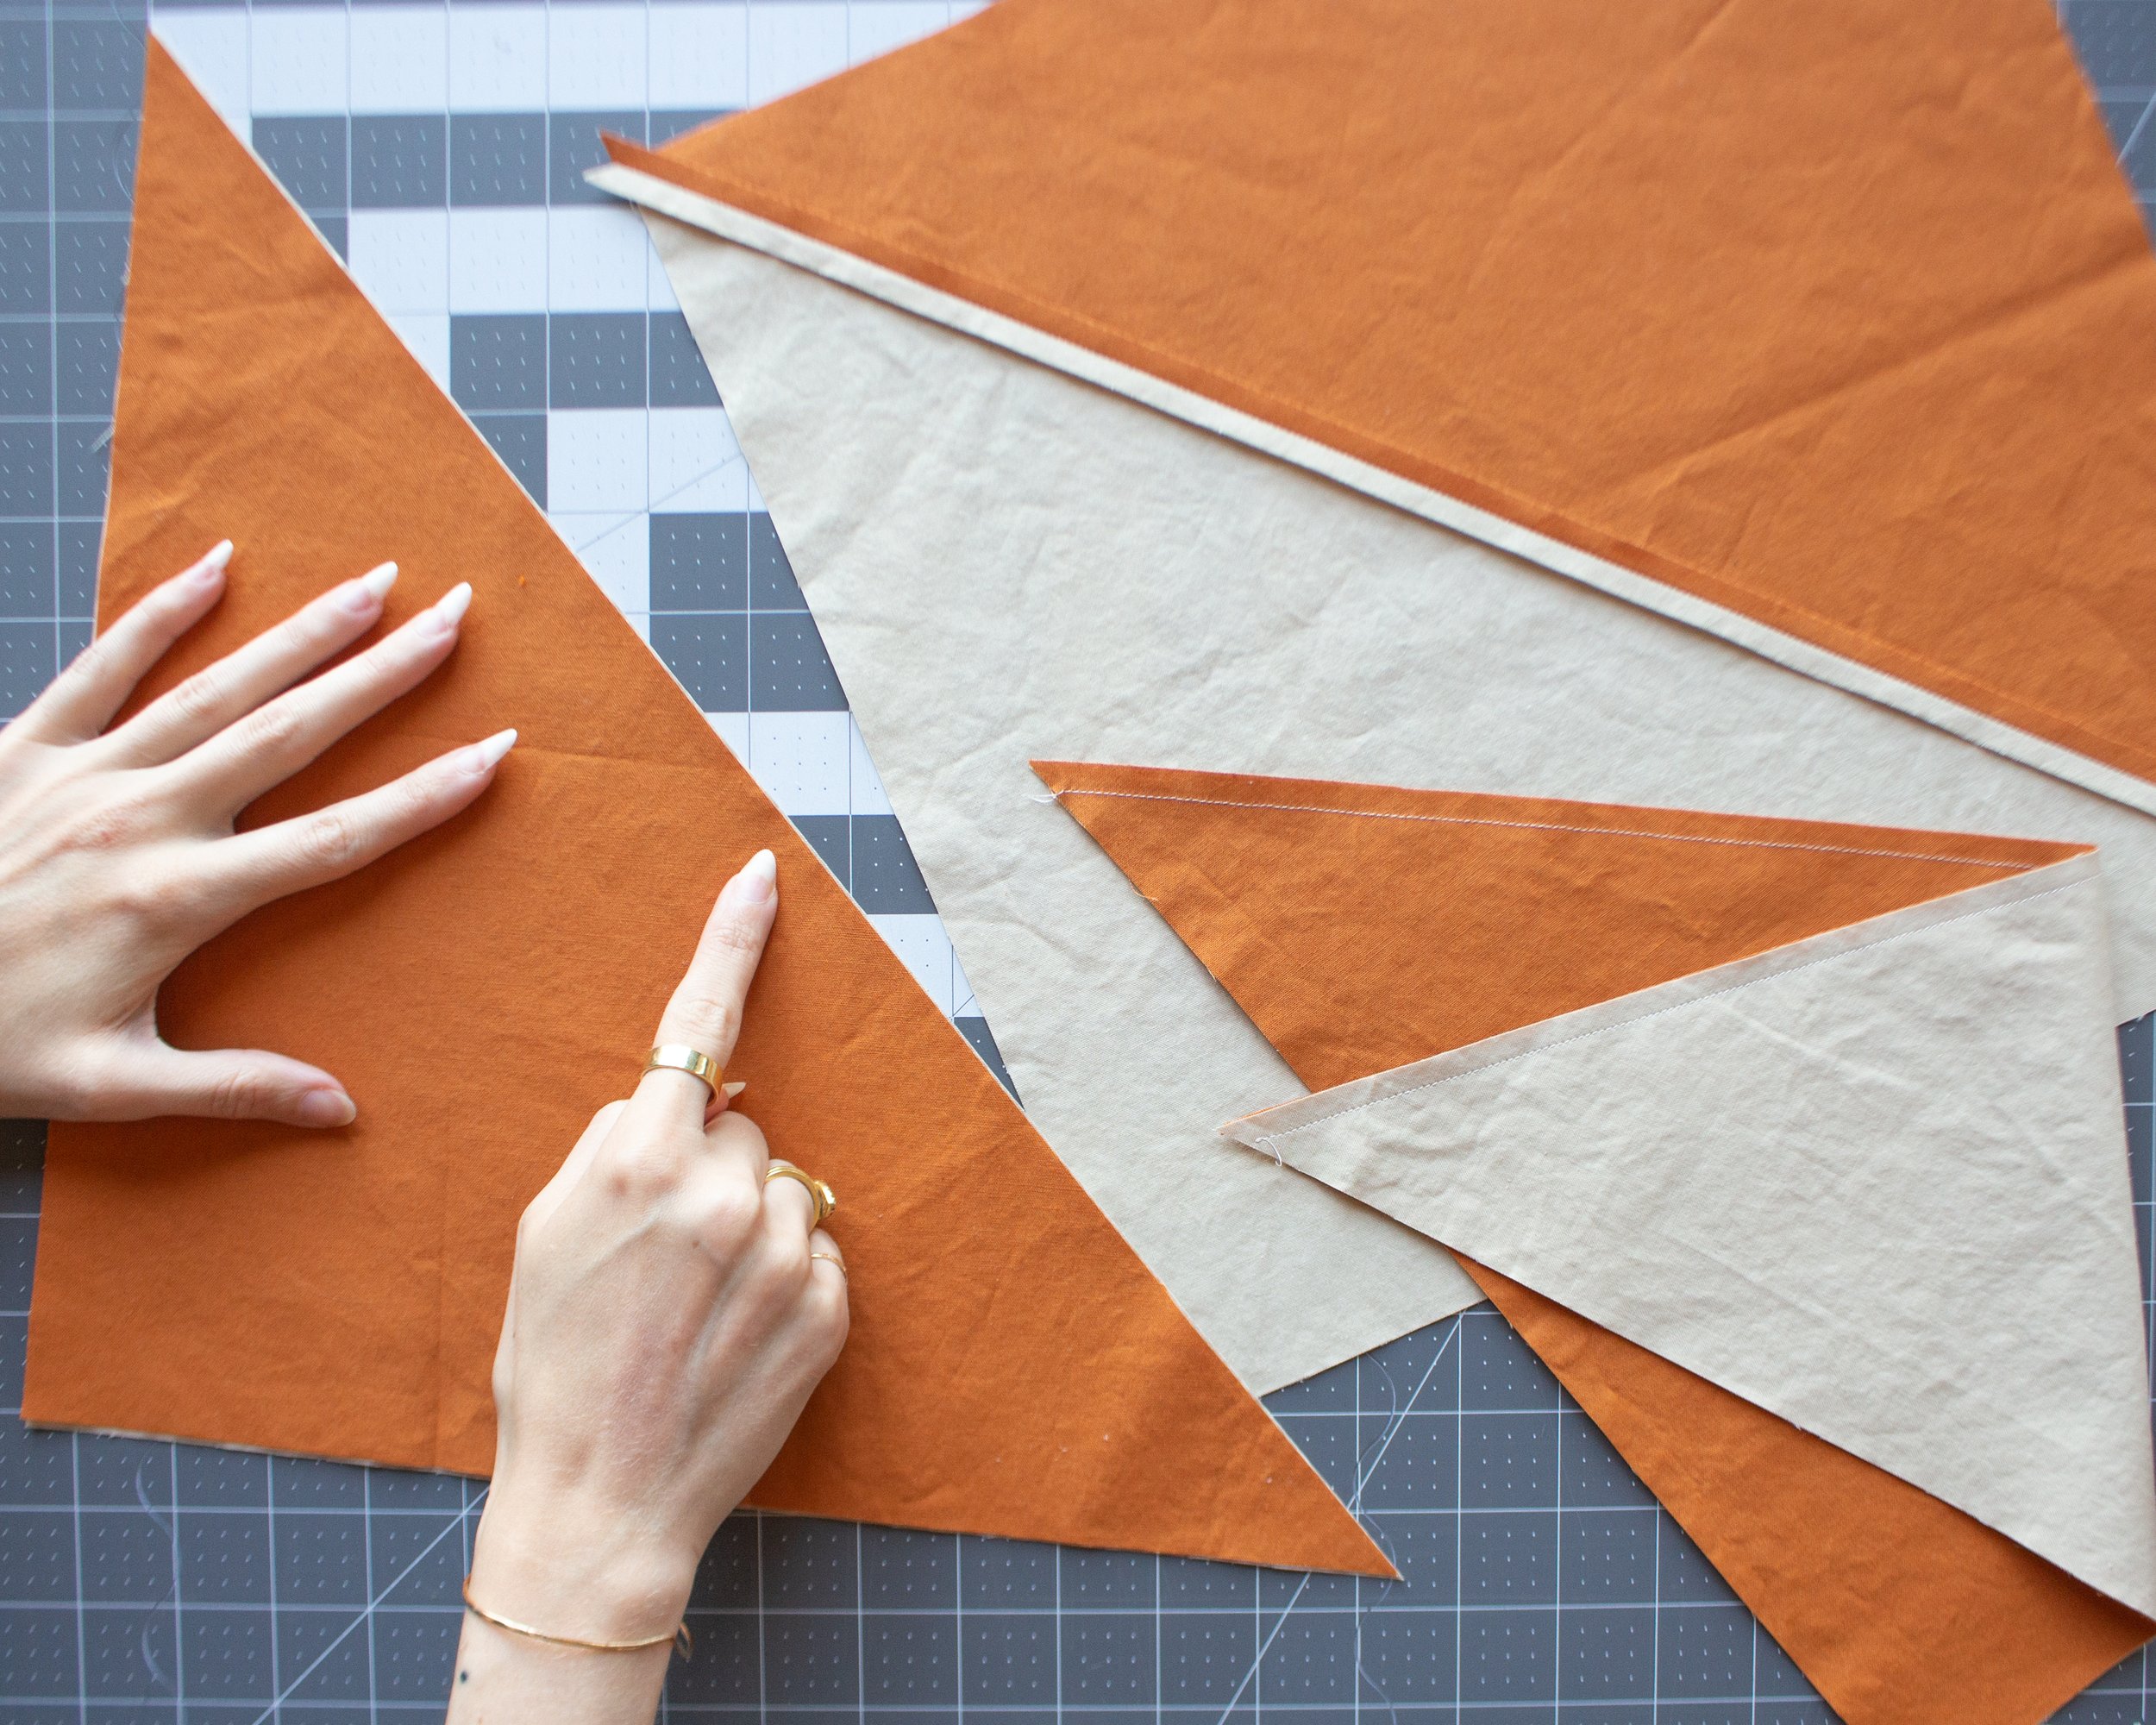
Iron the seam open and trim down to a 13.5” square.

STEP TWO:
With right sides together, sew the quilt blocks together using a 1/4” seam allowance. Iron the seams open. I used 3 blocks for a 13.5“x39” table runner. Add or subtract blocks to achieve your desired size.

STEP THREE:
Quilt the table runner.
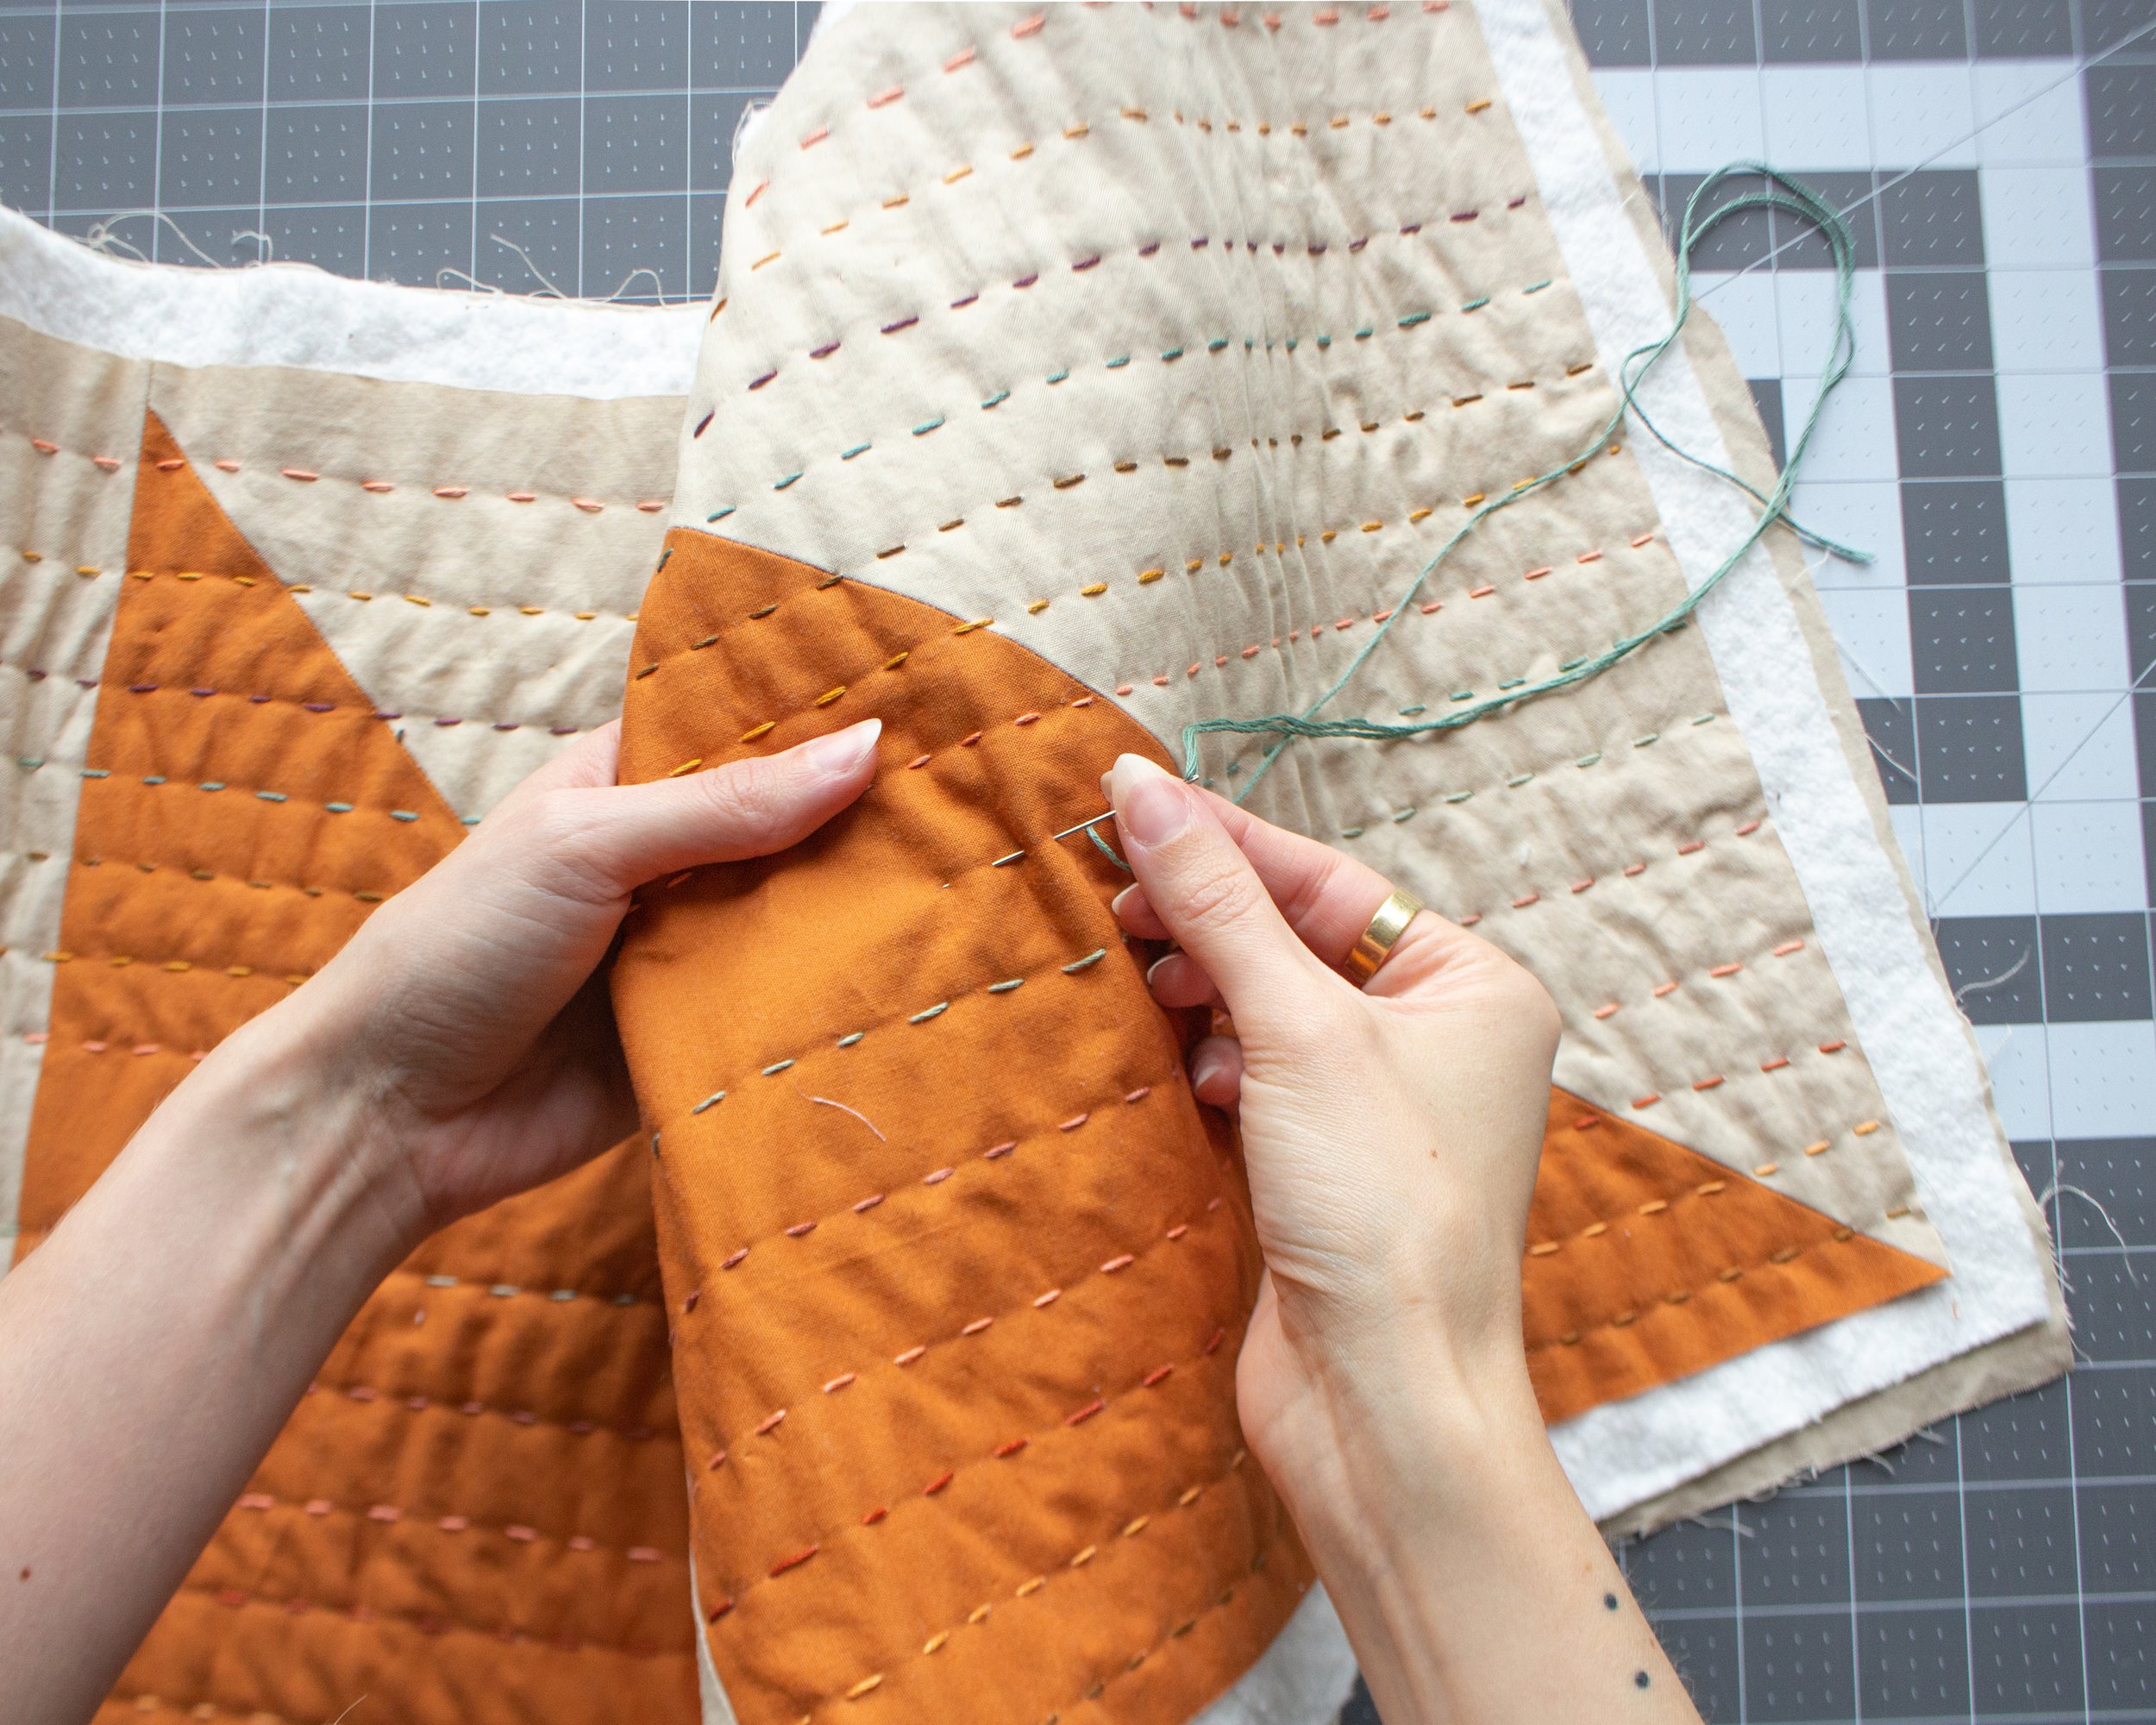
Cut one piece of your backing fabric and one piece of your quilt batting slightly larger than your quilt top. Make sure the layers are all ironed flat, and safety pin the layers together, with the pins about 3-4” apart.

Using embroidery floss, stitch the layers together. I used stright lines about 1” apart, and used fairly large stitches. Tie the kots close to the edge so they will be covered by the binding. Feel free to use whatever stitching pattern you’d like!
STEP FOUR:
Bind the table runner.
Cut the excess backing from around the edge of the top.

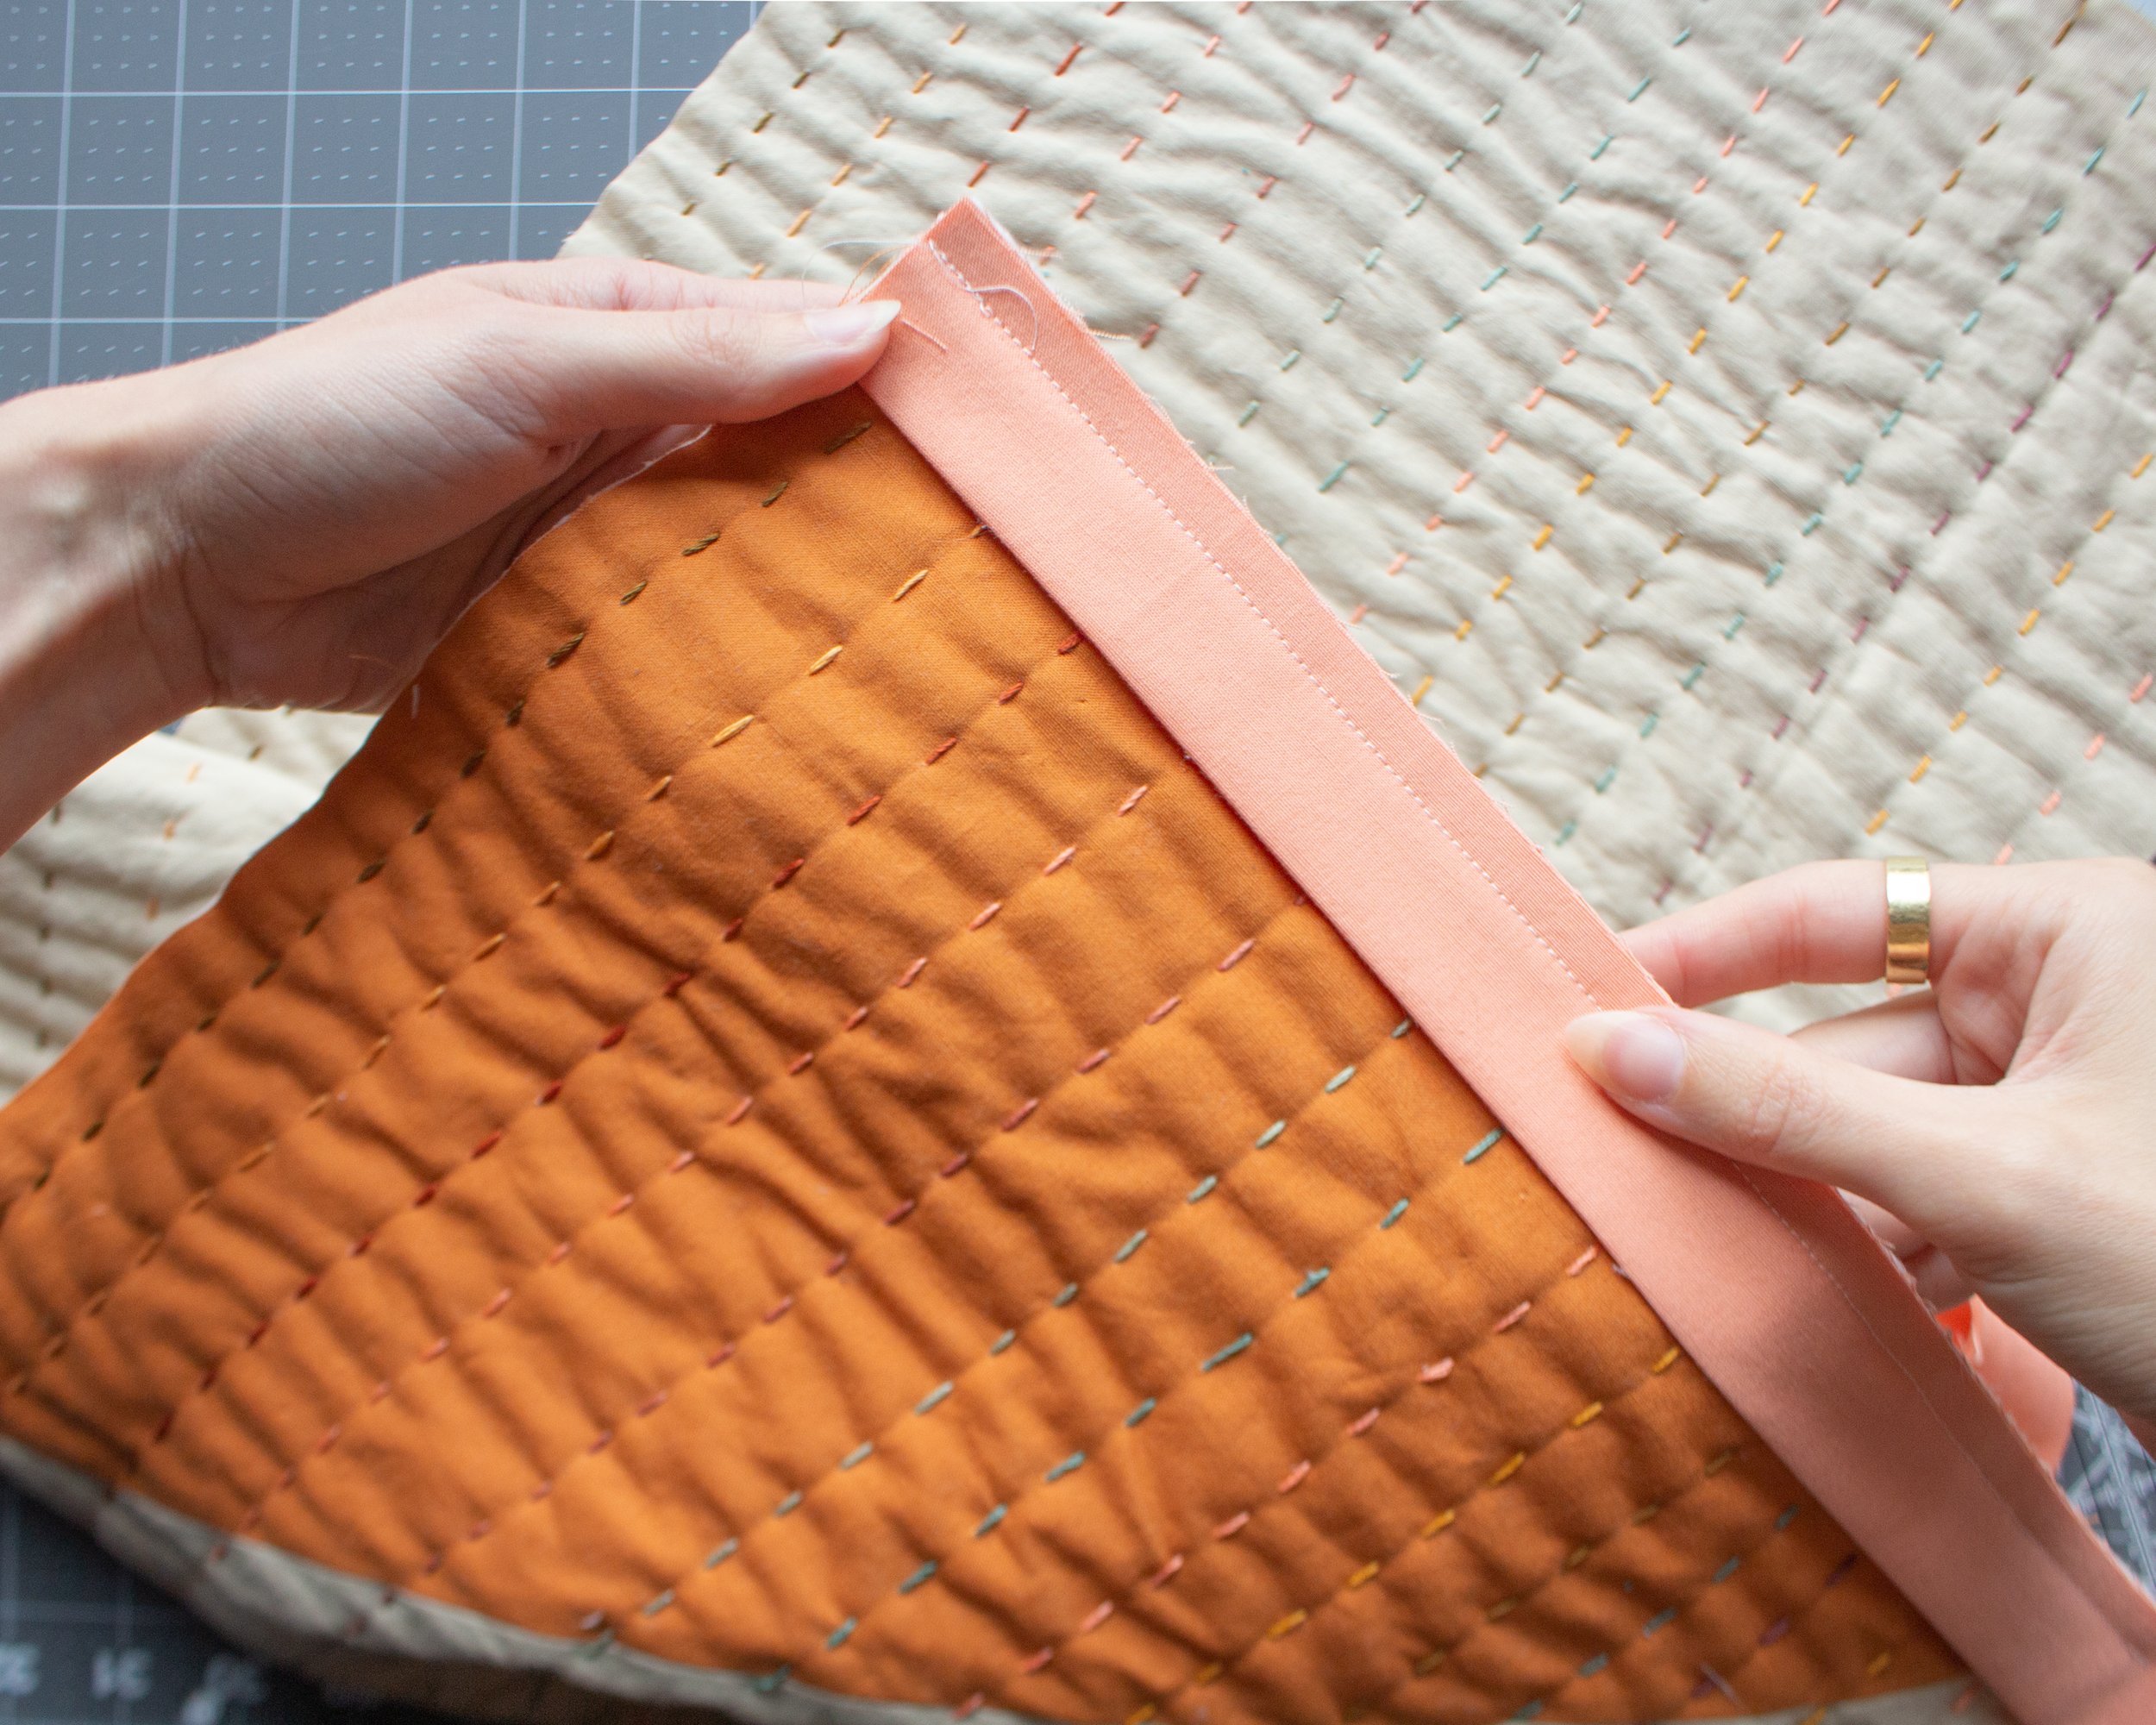
Cut 2.5” wide strips of your binding fabric, 2 strips slightly longer than the long side of your table runner, and 2 strips slightly longer than the short side. You may piece sections together to get a long enough strip if needed.

Fold the strips in half and iron.
Start with the short edges and pin the shorter strips along the edge of your table runner, on the front side. The cut edges of the binding align with the edge of the table runner. Sew with a 5/16th seam allowance (between 1/4 and 3/8ths). Trim any excess binding that extends past the edge of the quilt.
Fold the binding over, iron and hand stitch it down on the back.
Repeat with the long edges, but leave an inch or so of extra binding extending past the edges. Tuck the ends to the inside to finish the corners.

You’re done! Enjoy!